Cricut Easy Press Htv on Painted Wood
This post and the photos within it may contain Amazon or other affiliate links. If you purchase something through the link, I may receive a small commission at no extra charge to you.
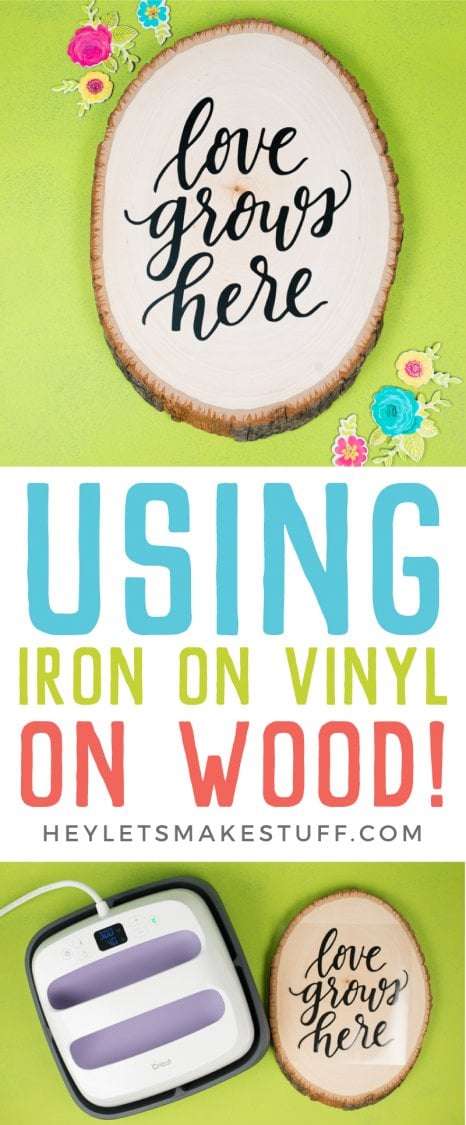
Using Iron On Vinyl on wood is an easy way to add style to any project! Plus it super easy using your Wisteria Cricut Explore Air 2 exclusively from JOANN and your Cricut EasyPress. Get tips and tricks for making your wood and iron on project a success!
I love finding new applications for different materials I cut using my Cricut. Today I want to share one of my favorites—using iron-on vinyl on wood! It's perfect for making all sorts of home decor signs, coasters, ornaments, and other projects. I'm using my new Wisteria Cricut Explore Air 2, which is exclusively found at JOANN, along with my Wisteria Cricut EasyPress.
Before we get to making this actual project, let's talk a bit about materials.
What is Iron On Vinyl?
Iron on vinyl, also referred to as heat transfer vinyl or HTV, is a special type of vinyl that is adhered to materials, generally fabric, using heat. There is an adhesive on the back of iron on vinyl that activates when it reaches a certain temperature, generally by iron, heatpress, or, my particular favorite, the Cricut EasyPress.
If you no longer have the packaging, you can tell the difference between iron on vinyl and regular vinyl because there is a very shiny side to iron-on vinyl, and the back is matte. Conversely, on regular vinyl the front colored side is most often matte and there's usually a white backing sheet.
Why Use Iron On Vinyl instead of Adhesive Vinyl On Wood?
In the past, I would have used regular adhesive vinyl on wood. It works, but I find that wood is not the perfect surface for adhesive vinyl. Because it's not perfectly smooth, it takes quite a bit of effort and patience to get the vinyl to stick to the wood. And often, after time, the vinyl will start to peel up because it's not adhered perfectly to the rough surface.
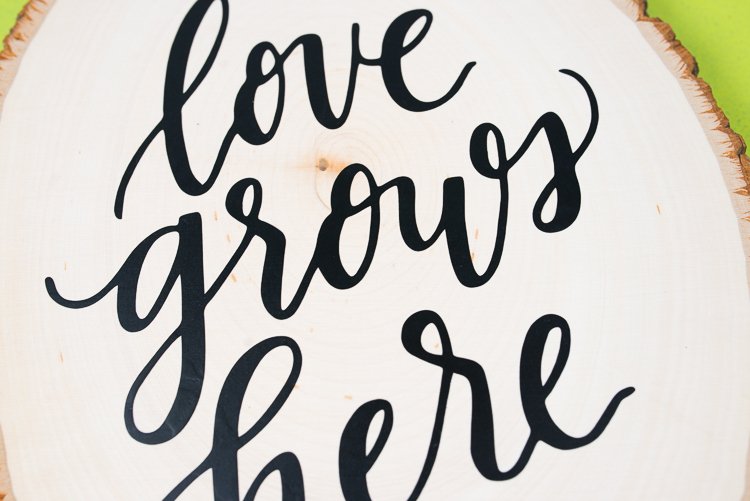
Iron on vinyl, however, adheres to wood like a dream. And you don't have to bother with transfer tape, because the pieces are already adhered to the transfer sheet. I also like that iron on vinyl is less shiny than other vinyls, so it feels a bit more like it could have been a hand-painted stencil. It also conforms to the imperfections in the wood instead of sort of floating above it, giving it a more paint-like appearance (you can see that a bit in the "g" below).
How to Use Iron On Vinyl on Wood
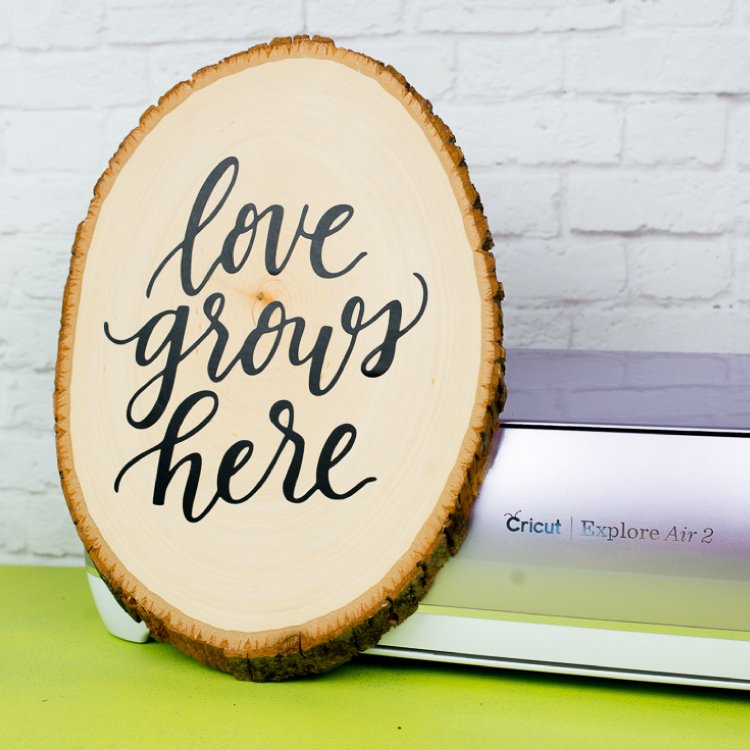
Let's make this simple wood sign! I'm using this funLove Grows Here SVG I posted a while back—I think it's the perfect fit with the unfinished edges of this wood plaque.
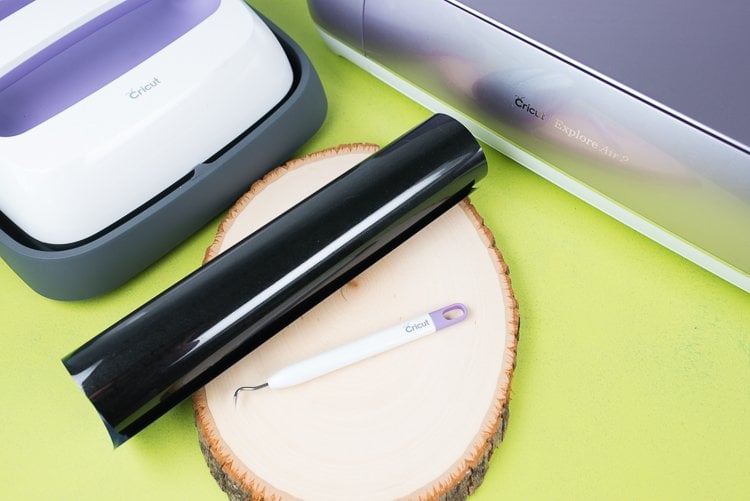
Supplies / Tools
- Wood Plaque
- Iron On Vinyl
- Weeding Tool (note that a pretty purple weeding tool comes with the Wisteria Cricut!)
- Cricut Explore Air 2 or other Cricut
- Cricut EasyPress
- Love Grows Here SVG
Directions
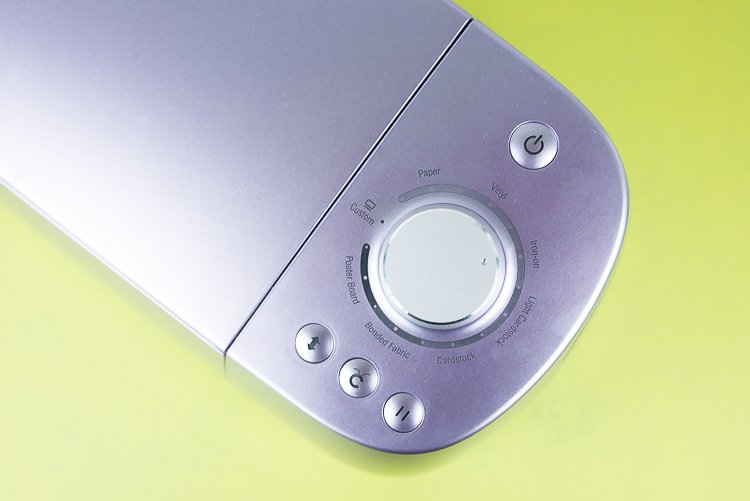
Start by downloading the SVG file by clicking the link in the supplies list, or creating your own design in Cricut Design Space or another design program. Cut out the file on your Cricut Explore, making sure to do two important things:
- Set your machine to iron on
- Place your iron on vinyl shiny side down on the mat
- Mirror your image
(Side note: can we just talk about how pretty this Wisteria Cricut Explore Air 2 is? I just love it! And it comes with a bunch of goodies, like an XL Scraper and a bunch of fun materials like foiled cardstock and SportFlex iron on. Learn more here. It's a great bundle, exclusively at JOANN!)
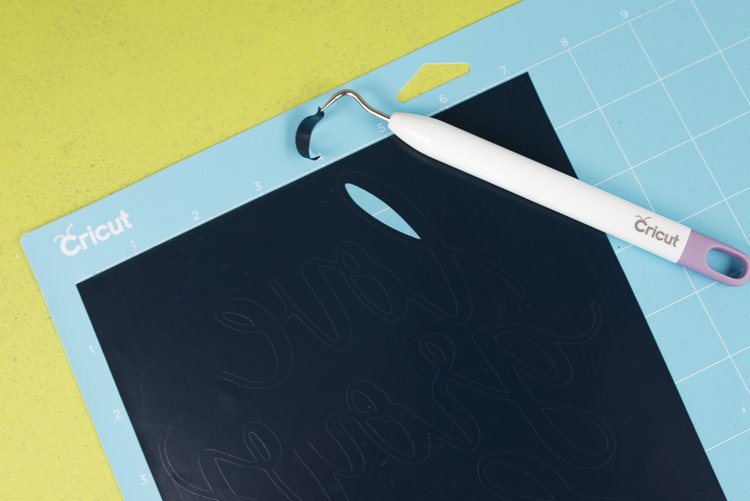
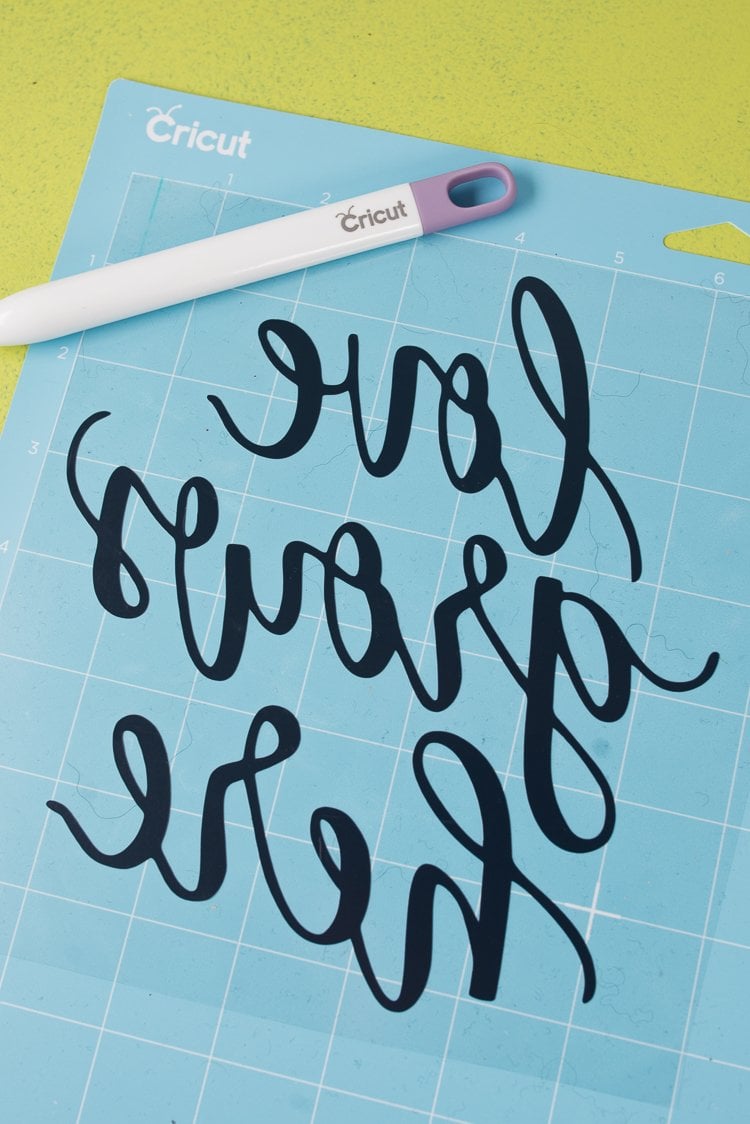
Once your file is cut, weed out the excess vinyl. You'll see that my image is backward, but once I flip it over to put it on the wood it's facing the right way.
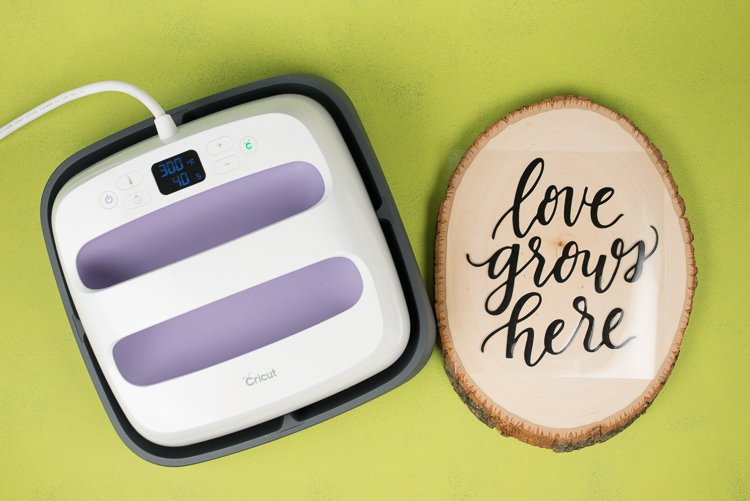
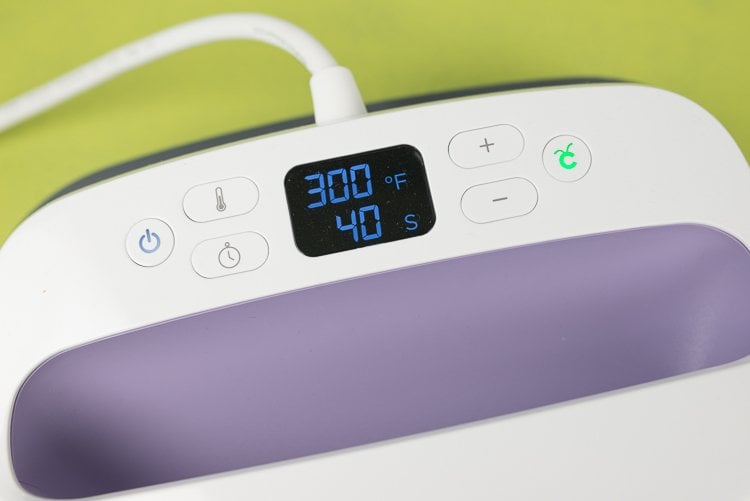
Turn on your EasyPress and set it to the proper wood setting for iron on vinyl (download a heat settings chart here)—300° and 40 seconds.
Then press down your vinyl using the EasyPress. Normally I don't use a pressing cloth, but I decided to once I found that my wood was just ever-so-slightly bowed. Using a piece of cotton fabric between my EasyPress and the vinyl meant that I could easily slide my EasyPress around, making sure I got all of the pieces of my transfer.
Then carefully peel off the backing plastic. If parts of your vinyl haven't adhered to the wood, just give them an additional press. That's it! It's so easy to adhere iron on vinyl to wood that you'll find yourself making all sorts of projects using this technique. And make sure you head on over to JOANN to pick up your own Wisteria Cricut Explore Air 2 and Wisteria EasyPress. You know you want them!


More Projects Using Vinyl
[ess_grid alias="cricut_vinyl"]
This is a sponsored conversation written by me on behalf of JOANN. The opinions and text are all mine.
Source: https://heyletsmakestuff.com/iron-on-vinyl-htv-wood/
0 Response to "Cricut Easy Press Htv on Painted Wood"
Post a Comment